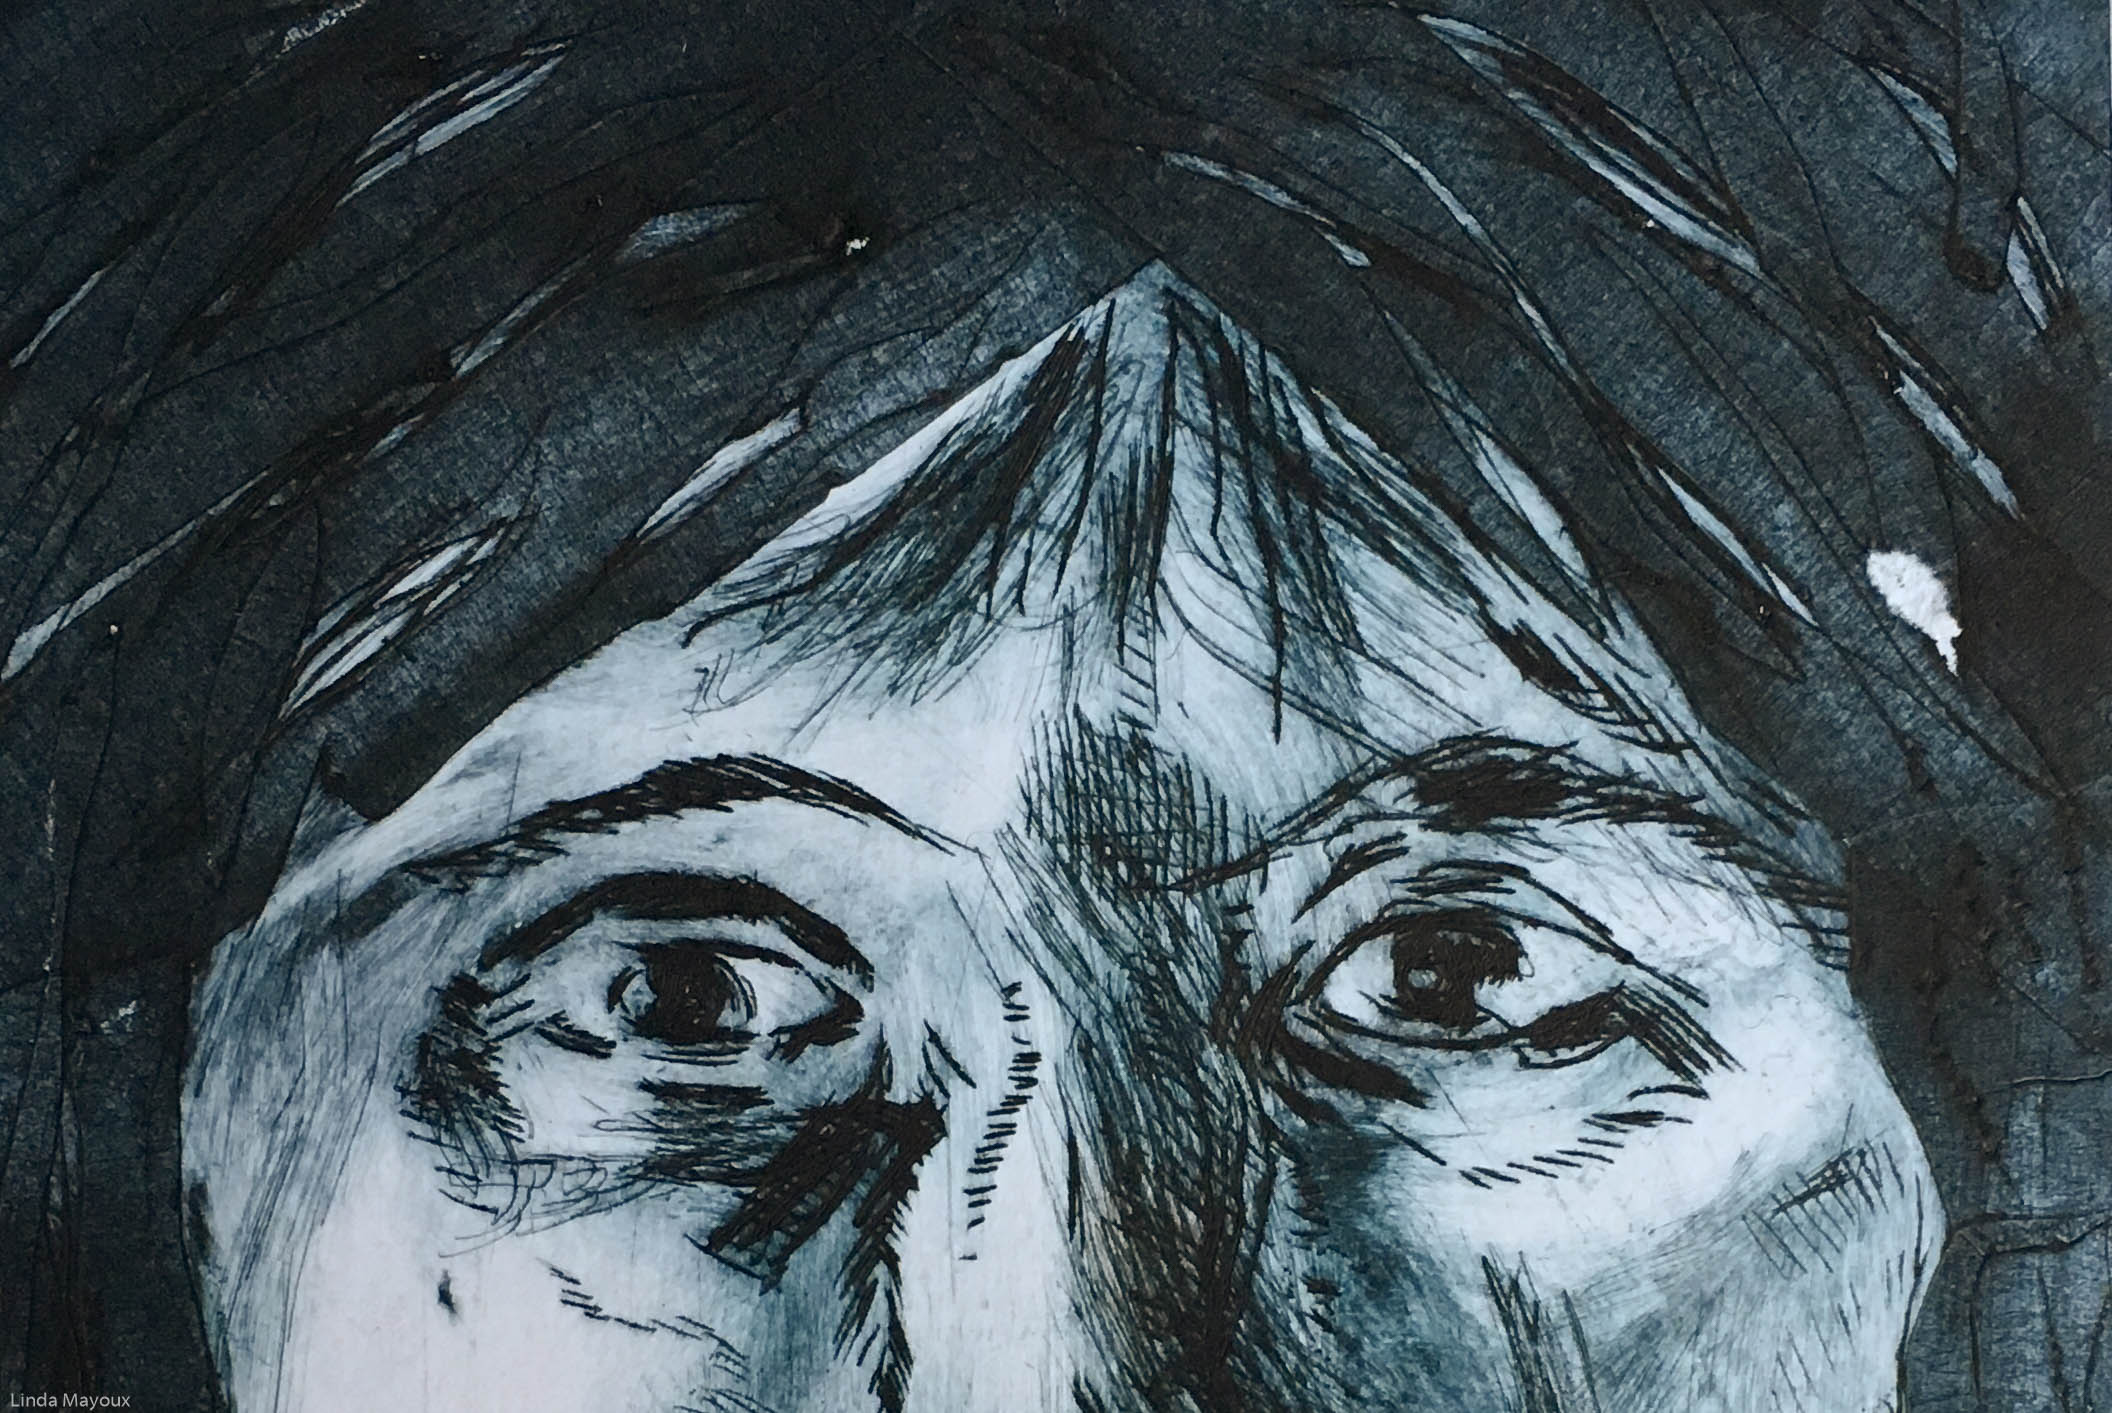
What is Drypoint?
Drypoint is an intaglio technique in which an image is incised into a plate in a range of ways that enable combination of dynamic lines, including very fine lines, with tonal and textural effects.


There are many possible variations:
-
- different types of incising tools: with a hard-pointed “needle” of sharp metal or diamond point or power tools like dremel and a range of other more experimental incising tools.
- different types of plate, including inkjet transparencies, acetate, perspex, card, zinc and also collagraph which differ in their degree of resistance to different tools and thereby give different qualities of line.
- the plate can be modified with the addition of adhesive materials like carborundum, varnish, masking tape.
- some types of plate like transparencies and card can be cut into shapes and overlaid to produce very complex effects.
- final prints can be collaged to increase 3D effects and tonal depth and colour combinations.
Drypoint technique was used in:
Project 4.2: Self-portrait: Reflections
Assignment 4: Red white and black: Abstract self-portraits
For ways in which other printmakers and artists have used and adapted Drypoint see: Drypoint inspiration
Drypoint process
1) Making the plate
Traditionally the plate was copper, but now acetate, zinc, or plexiglas are also commonly used. Drypoint technique of using the needle is like using a pencil. Any sharp object can theoretically be used to make a drypoint, as long as it can be used to carve lines into metal. Dentistry tools, nails, and metal files can all be used to produce drypoints. However, certain types of needles are created specifically for drypoints:
- Diamond-tipped needles carve easily through any metal and never need sharpening, but they are expensive.
- Carbide-tipped steel needles can also be used to great effect, and are cheaper than diamond-tipped needles, but they need frequent sharpening to maintain a sharp point. Steel needles were traditionally used.
The lines produced by printing a drypoint are formed by the burr thrown up at the edge of the incised lines, in addition to the depressions formed in the surface of the plate. A larger burr, formed by a steep angle of the tool, will hold a lot of ink, producing a characteristically soft, dense line that differentiates drypoint from other intaglio methods such as etching or engraving which produce a smooth, hard-edged line.
The size or characteristics of the burr usually depend not on how much pressure is applied, but on the angle of the needle.
- A perpendicular angle will leave little to no burr, while the smaller the angle gets to either side, the larger the burr pileup.
- The deepest drypoint lines leave enough burr on either side of them that they prevent the paper from pushing down into the center of the stroke, creating a feathery black line with a fine, white center.
- A lighter line may have no burr at all, creating a very fine line in the final print by holding very little ink.
Typically different types of line are produced on different types of plate.


Materials like masking tape, carborundum and other adhesives can be added to the plate to give different effects in terms of texture, and also the type of line that can be produced.


Printing process
As with etching and other intaglio techniques, the inking process and different tonal and wiping in different parts of the plate can produce radically different images and emphasis.
Applying the ink
After the image is finished, or at least ready to proof, the artist applies ink to the plate with a dauber or brush. Too much pressure will flatten the burrs and ruin the image.
Wiping the ink
Once the plate is completely covered with a thin layer, a tarlatan cloth is used to wipe away excess ink, and paper (typically pages from old phone books) may be used for a final wipe of the lightest areas of the image. Some printmakers will use their bare hand instead to wipe these areas. Compared to other intaglio techniques:
- Less pressure is applied to achieve desirable lines, because the burrs forming the image are more fragile than etched or engraved lines, but also because the ink rests on the plate surface, instead of pressed down into indentations.
- Direction of wiping matters because ink tends to pile up in the lee of the burr. If the printer wipes in the direction of the lines with their hand, they may remove most of the ink, leaving a light gray line. If they wipe perpendicularly to the line, they can actually increase the pile of ink on the other side of the line, darkening the printed line.
Subtractive monoprint techniques can also be used to create lines and images in the ink. In the image below, the small white figure at the bottom was made by drawing into the ink with a sharpened pencil.

Printing
Once the desired amount of ink is removed, the plate is run through an etching press on a piece of dampened paper to produce a print. It is best to put the softer blankets just above the plate to reduce the flattening of the burr.
Because the pressure of printing quickly destroys the burr, drypoint is useful only for comparatively small editions; as few as ten or twenty impressions with burr can be made, and after the burr has gone, the comparatively shallow lines will wear out relatively quickly.
Runs of prints can be made on different types of paper without re-inking as a series of ghost prints that can then be collaged to create depth. This is best done using thin paper.


Bibliography
Adler, K., (2006) Mary Cassatt: Prints, London: National Gallery.
Bikker, J., Webber, G. J. M., Wiesman, M. W. & Hinterding, E., (2014) Rembrandt: the late works, London: National Gallery.
Cohen, J. (ed.) (1995) Picasso: Inside the Image, London: Thames & Hudson.
Coppel, S., (1998) Picasso and Printmaking in Paris, London: South BGank Publishing.
Griffiths, A., (1980) Prints and Printmaking: An introduction to the history and techniques, London: British Museum Press.
Malbert, R., (2016) Louise Bourgeois: Autobiographical prints, London: Hayward Publishing.
Marquis, A., (2018) Marcellin Desboutin, Cambridge: Fitzwilliam Museum.
Martin, J., (1993) The Encyclopedia of Printmaking Techniques, London: Quarto Publishing.
Muller-Westermann, I. (ed.) (2015) Louise Bourgeois: I Have Been to Hell and Back, Ostfildern, Germany: Hatje Cantz Verlag.
Salamon, F., (1972) The History of Prints and Printmaking from Durer to Picasso: A guide to collecting, New York, Sat Louis, San Francisco: American Heritage Press.
Stobart, J., (2001) Printmaking for Beginners, London: A&C Black.
Wye, D., (2017) Louise Bourgeois: An Unfolding Portrait, New York: MoMA.
Tutorials
Best tutorials for Drypoint on plastic
- Very simple step by step overviews.
2) On plastic. Talks more about ink and ink removal. Using dirty tarlatan removes more ink because oil attracts oil. Don’t press too hard because you are trying to get the ink to bounce off. Make sure to wipe off the edge. Use damp paper. Uses marked Plexiglass for registration. There should be a ridge around the plate if pressure is right.
3) On copper. Discusses different tools and the mark-making process. With examples of different artists. Tones made through stippling, roulettes, mezzotint rocker. Roulettes with a fine tooth create subtle tones. Roulettes with coarse tooth create darker tones. Sandpaper can be used. Steel wool to create subtle tone. Try metal bristle brush.
Combination monoprint and drypoint.
Uses machine polishing on copper.
Akua inks
Leave a Reply